 English
 中文
中文How To Repair Hydraulic Hoses In 6 Steps

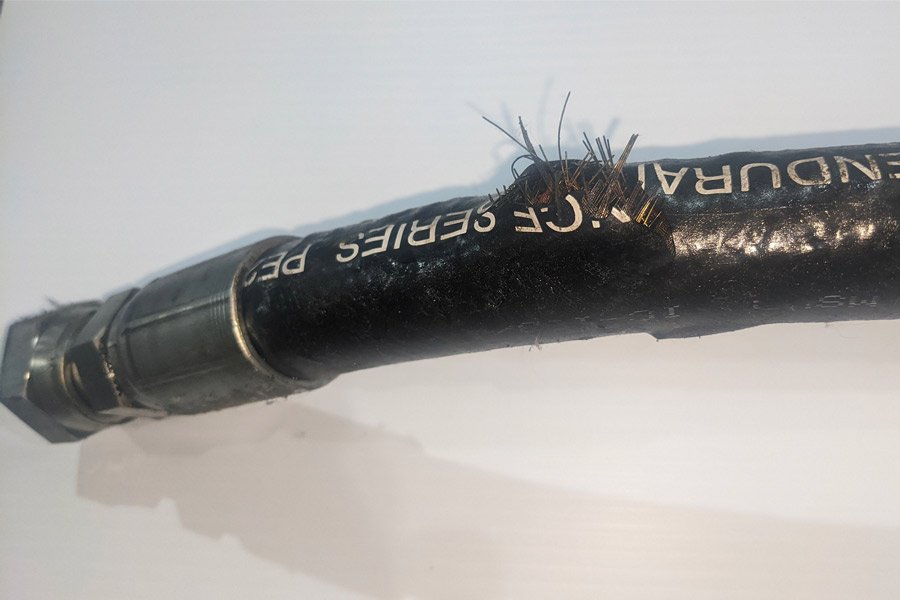
Many vehicles, pieces of equipment, and industrial machines use hydraulic hoses. These hoses are generally very durable and reliable, but if you work or drive long enough they will eventually break one. In this case, it is best to contact a certified professional who specializes in testing and repairing hydraulic hoses.
However, in a pinch, you may need to do an on-site repair until you can reach a professional. Temporarily attaching a hydraulic hose isn’t as daunting for a job as you might think. Once the process is broken down into six steps, repairing it can be pretty straightforward.
Hydraulic Hose Repair Step By 6 Step
1. Identify The Correct Hose
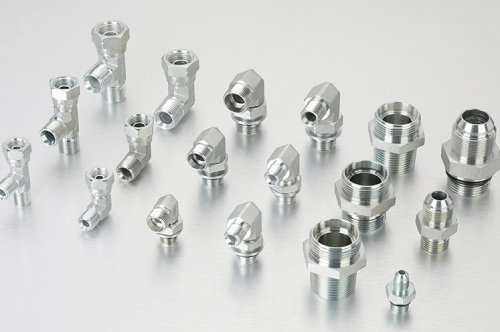
Most heavy equipment can perform multiple functions (i.e. lift, push, pull, or cut), and each of these functions may require a different minimum pressure tolerance. For this reason, there can also be different types of hydraulic hoses with different minimum pressures for a single device.
Therefore, it is always best to determine which specification the hose in need of repair must meet. In most cases the tubing will be made to a specific length and you will need to insert a shorter assembly to make up for what will be cut away during the repair.
Be aware that it is extremely dangerous to replace the wrong hose, even temporarily. Especially when the surface of the hydraulic hose is unclear, so it is especially important to know the exact configuration of the hose. All hydraulic hoses must indicate the minimum operating pressure and maximum burst pressure on the hose. If in doubt, contact a trained professional.
Related Article: The data of hydraulic hose and fittings on Excavator
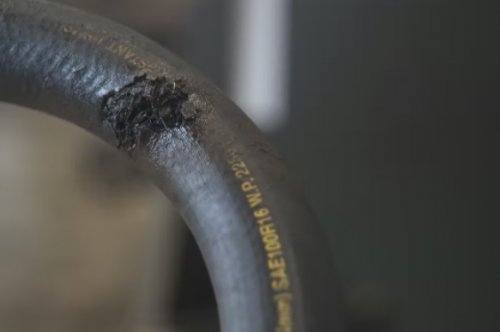
2. Remove The Damaged Area
Once you have completed Step 1, you will need to cut out the damaged area of the tubing. Also, if the only problem is that the coupling at the end of the hose is leaking, you will have to cut off the broken end. Thoroughly clean the area around the cut end of the hose. Clean the area of dust, dirt, or other contaminants as these could contaminate the hydraulic fluid.
Even a tiny smudge of dirt can damage internal components and lead to costly failure. Therefore, it is important to ensure that both the fittings and the cut hose ends are clean before proceeding with the remainder of the repair.
3. Use An Adapter To Complete Installation
In some cases, a hydraulic adapter is required to complete the installation of a repaired hose. Since it is not always possible to carry every type of hydraulic coupling, an acceptable solution is to have a kit with a variety of adapters. If necessary, install the adapters in the appropriate ports and ensure that a secure connection has been made.
Proper tightening (or tightening) of adapters and couplings is an essential part of the repair process. Over- and under-torques can have a detrimental effect on the hydraulic system. If you are unsure how much torque to apply, contact the system manufacturer or a trained professional before proceeding.
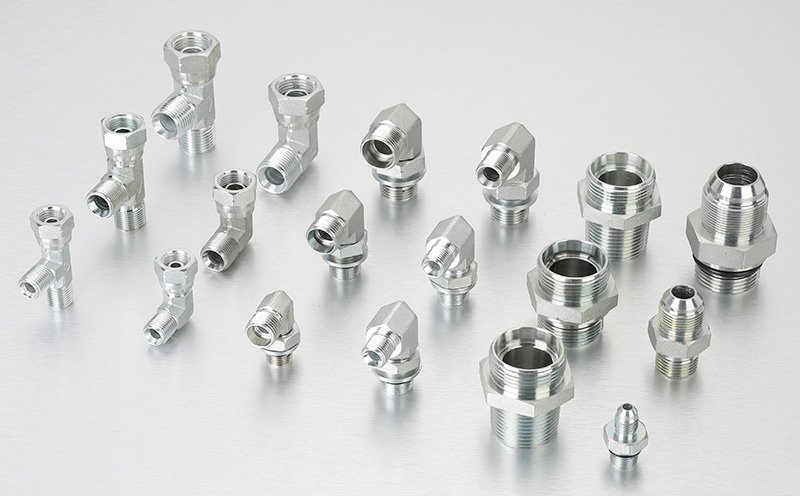
Related Article: The adaptors you need
4. Confirm The Correct Length
Next, put the hose assembly in place, making sure it is long enough. An overstretched or poorly routed hose is subject to additional pressure and fatigue. Although it’s better to have too much tubing than too little.
It is ideal to have the right length that allows for proper laying in accordance with NAHAD and manufacturer guidelines. Hydraulic systems are constantly under pressure, and too short a hose is more prone to dangerous (and costly) failures.
Make sure the hose is properly routed once it is the correct length. This allows the rest of the hydraulic system to function normally. Many devices use angled fittings to route their hoses and allow the hydraulic oil to flow more freely.
If an angled adapter or coupling is required, install the angled fitting first to ensure correct positioning. Once the angled adapter is in place, the end of the hose assembly can be screwed onto the adapter or connector.
5. Ensure A Proper Seal
Thread the remaining end of the tubing onto or into the opposite opening, making sure that it is properly sealed. Even a small gap or imperfection in the seal can cause problems for the hydraulic system. Check the seal for leaks before continuing
Remember that the seal should be secure, but not too tight. Never twist or tighten the hose while attaching it. Tighten the fitting with a wrench, being careful not to overtighten the gasket.
6. Circulate Fluid At Low Pressure To Check For Leaks
Finally, turn on the hydraulic system and circulate the oil or hydraulic fluid at low pressure. This makes it easier to identify potential leaks and damaged connections. By circulating the hydraulic fluid under low pressure, the remaining air is also flushed. Air in the system can affect performance or damage pumps and other sensitive components.
Let the hydraulic system run for a few minutes and then check again for leaks. Never use your hand to check for leaks as this could result in injury from fluid injection. Use cardboard or a sheet of paper instead. It may take a few minutes for a leak to become visible. Therefore, always check the system before driving the vehicle or using the machine.
Simple repairs to your hydraulic hoses aren’t as difficult as you might think. However, it is recommended that you have your work checked by a professional. This will help ensure that no mistakes have been made and limit the occurrence of future problems.
If you suspect a hydraulic hose is leaking or otherwise damaged, act quickly and make any necessary repairs or replacements immediately. Leaving a leak unattended and not repaired can seriously damage the entire system and leave a large hole in your wallet.
Whether you are working with a farm tractor, delivery truck or industrial machine, the integrity of the hydraulic system is only as good as the quality of the hose.